
How to install WordPress on Webmin – Virtualmin and Usermin
- WordPress Tutorials
- Updated on

We have already talked about installing WordPress on various platforms such as CPanel and DirectAdmin. But other platforms are less well known, and many hosting companies have not even heard of them. In this article, we go to another of these control panels. So let’s go and see how to install WordPress on Webmin.
What is Webmin
Webmin is an entirely open-source and free control panel for managing Linux servers. We use WebSitePanel to manage a Windows server, Webmin manages a Linux server. For example, suppose you installed Webmin on CentOS. Instead of entering the “DNF -y update” command to update the system, you can easily log in to the Webmin control panel and update the system with one click.
So the control panels are made for the convenience of our work. It does not matter what system you work with or what control panel you have. It is essential to install WordPress on your desired control panel.
Webmin will be able to host websites with a powerful plugin called Virtualmin. So with Virtualmin, we can add and manage new websites on our server. Now, for each website administrator to have separate access to his website, he must use the Usermin panel.
So Webmin is the primary server panel, Virtualmin is the website management and building panel, and Usermin is the panel presented to the administrator of each website separately.
Now that we are familiar with Webmin. Let’s install WordPress on Webmin or User Main.
Install WordPress on webmin
You need to get your Usermin login address from your hosting or server administrator to get started. You can log in by accessing this address and having your username and password.
You will encounter such a page after logging in.
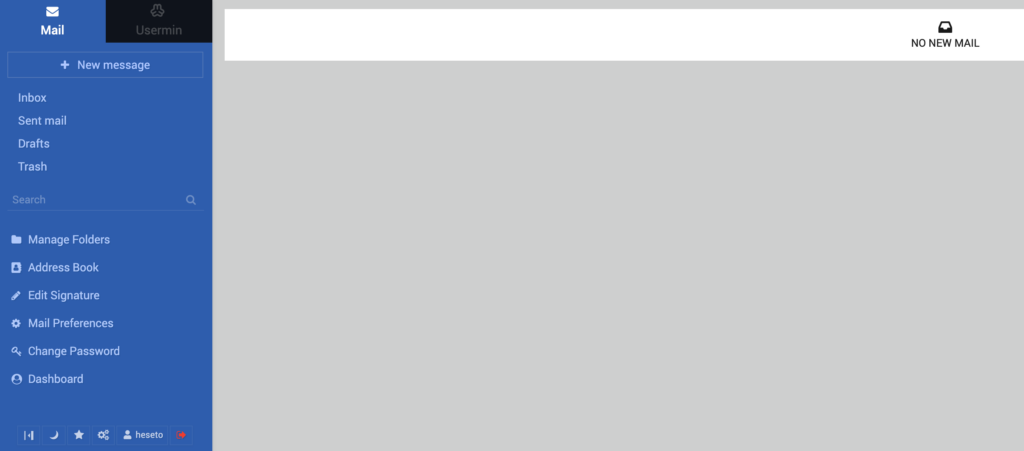
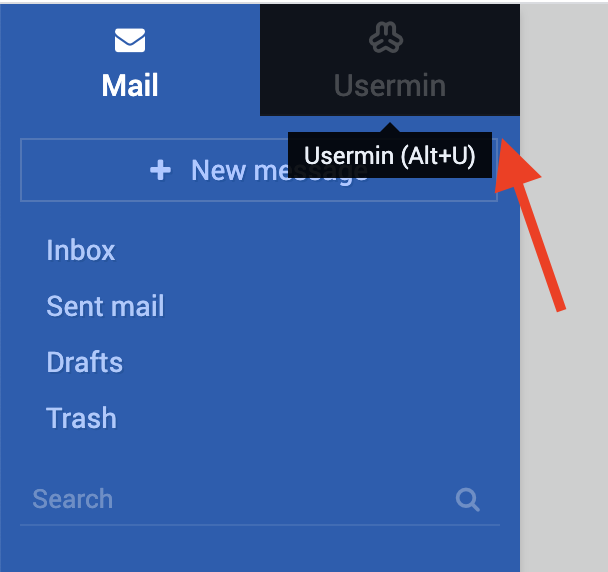
Click on Usermin at the top of the page.
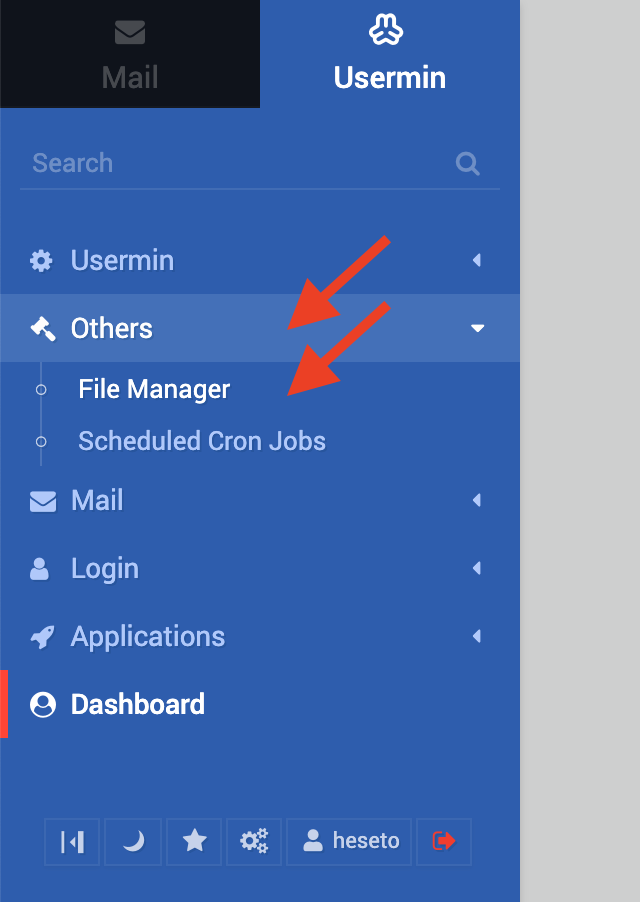
Then click on FileManager in the Others section.
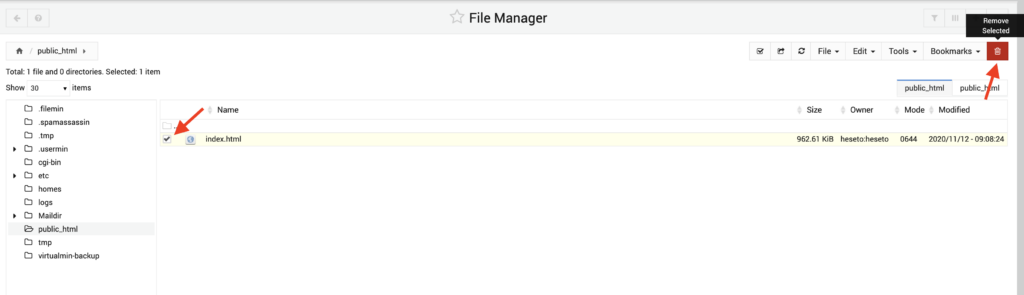
You have entered the file management section of your website. So just like any other control panel, click on public_html to enter the root directory of your website.

Now we need to delete the default Webmin file. Then click on the check box next to all the files in the main folder to select them. Then click Delete at the top of the page to delete all the files. Finally, click Remove Selected.
Upload WordPress archive on Usermin
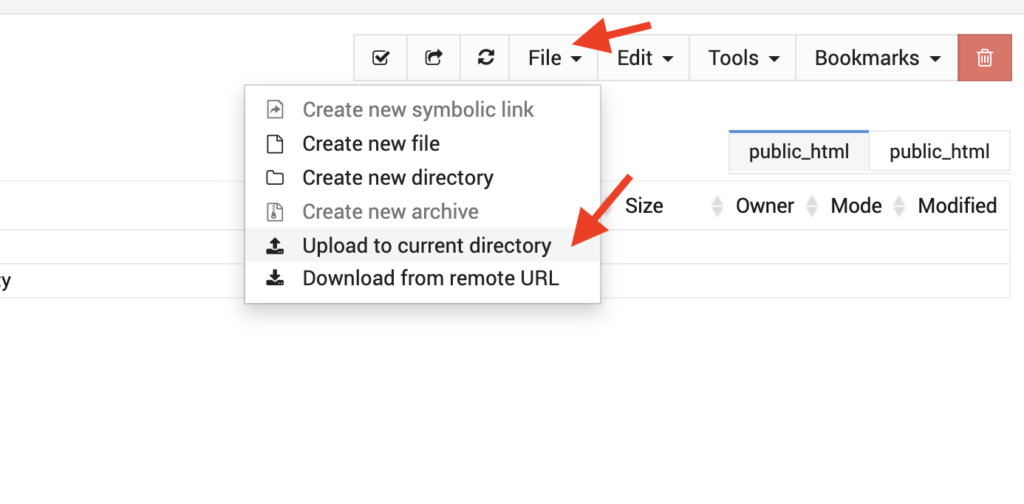
Now from the File menu, click on Upload to the current directory. Upload the WordPress file you downloaded from the WordPress download page here.
Right-click on the file and click Extract. The file manager will extract the file you want.
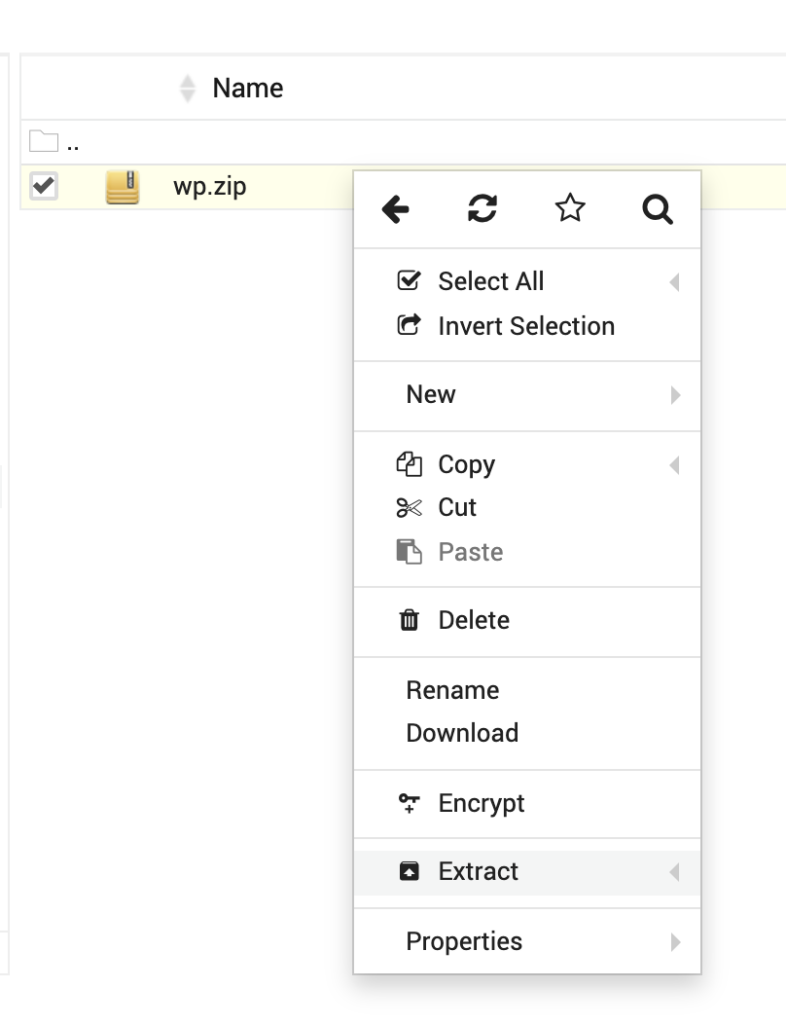
Enter the WordPress folder.
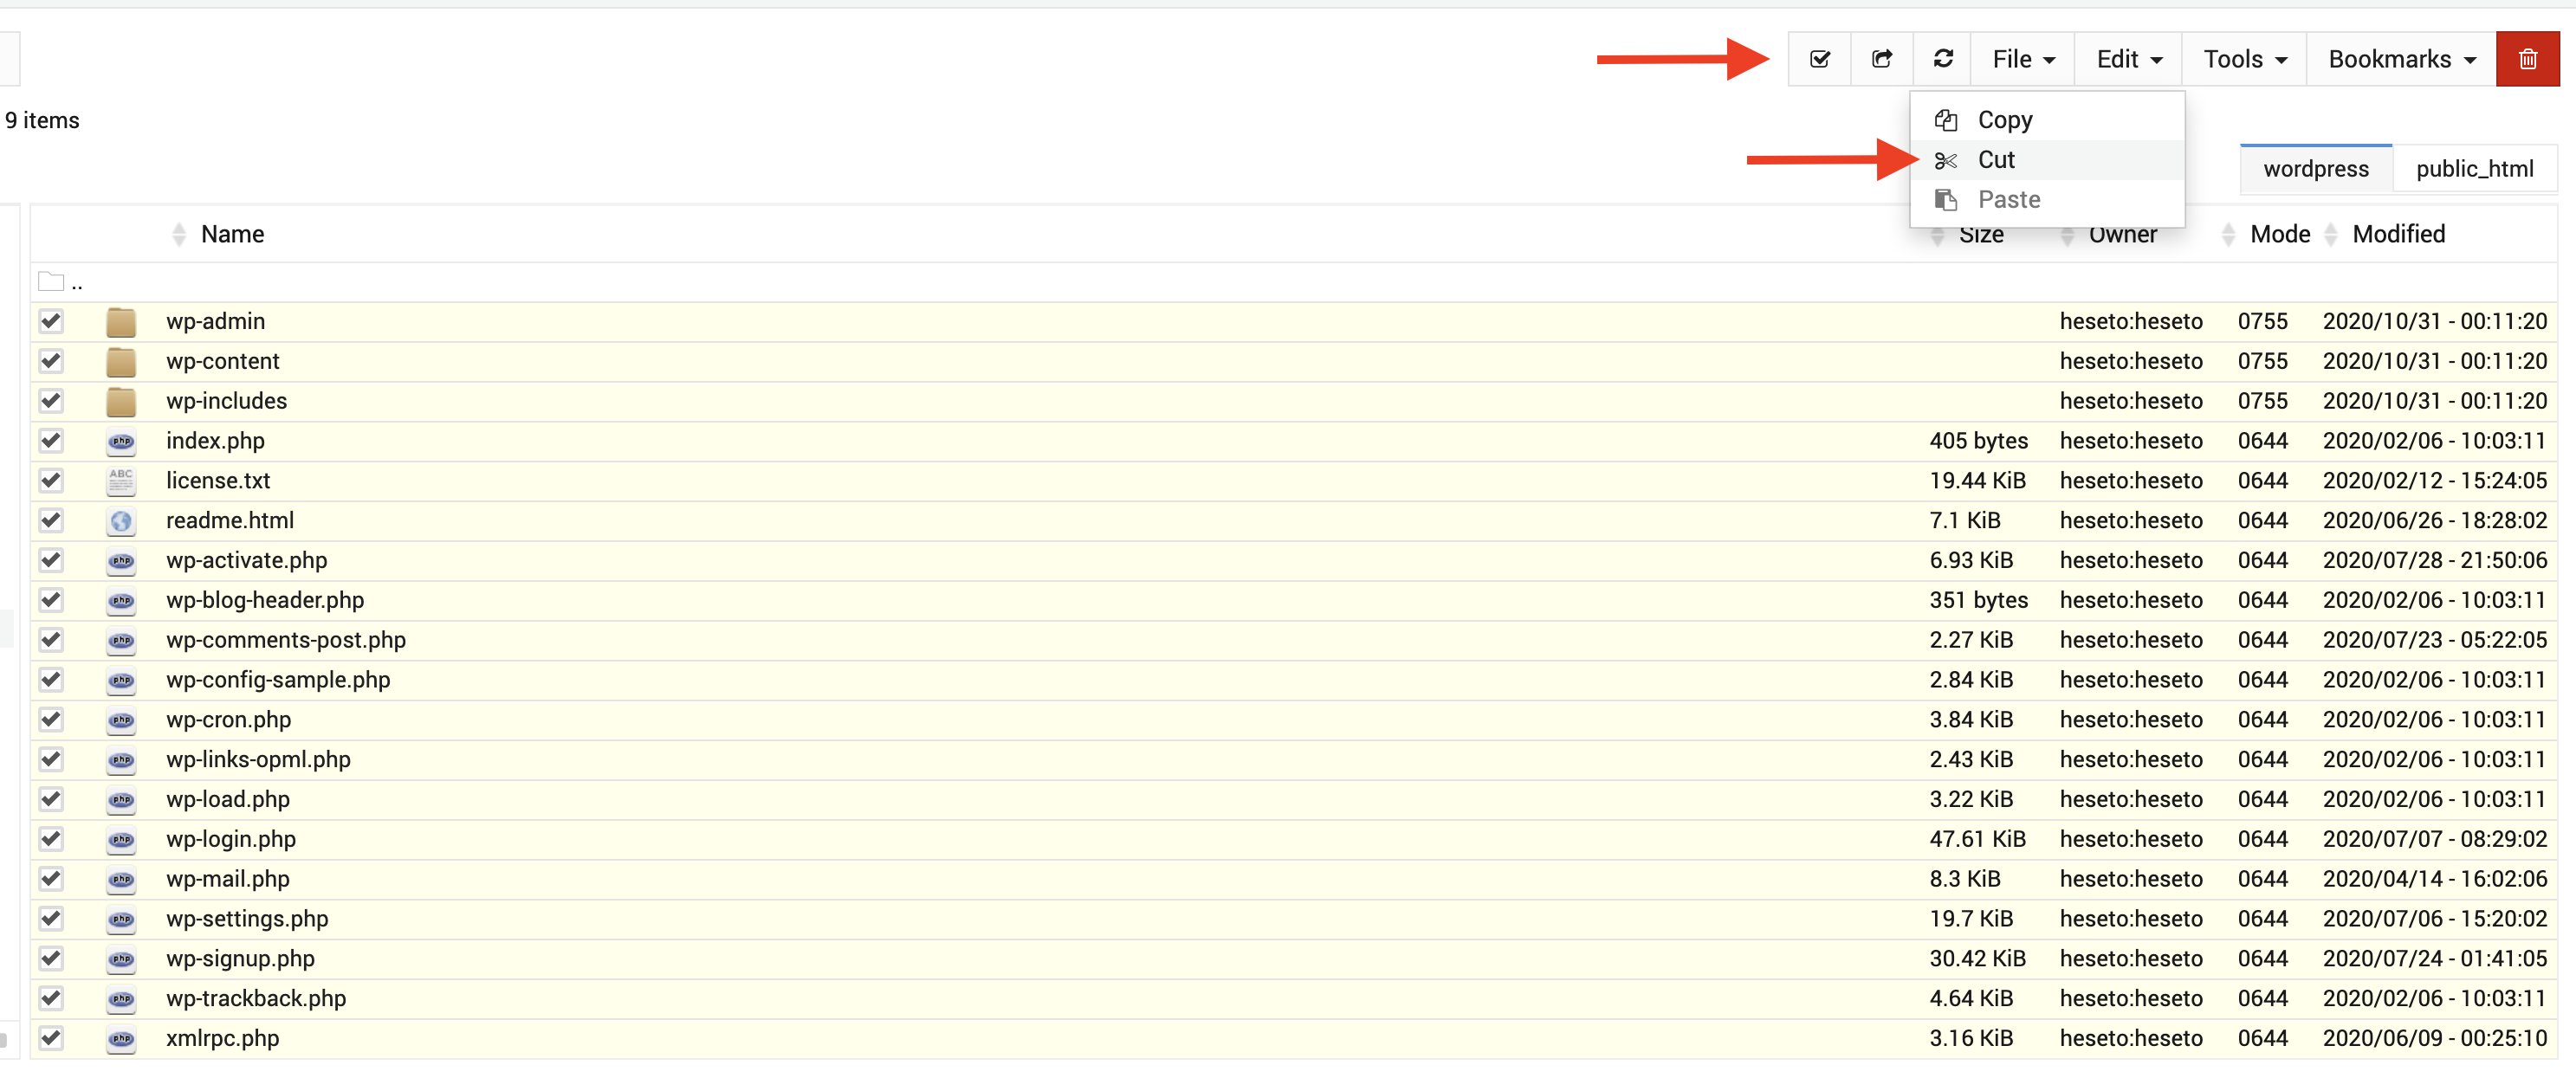
Then select all the files. Click cut from the file menu.
Select public_html from the menu on the left to re-enter the main folder.
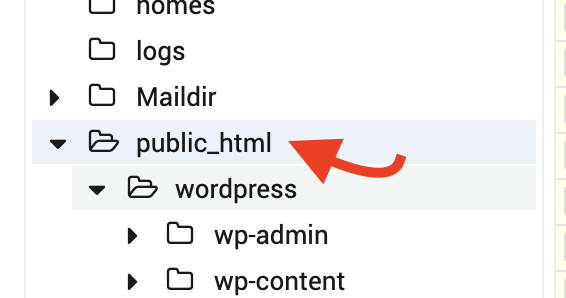
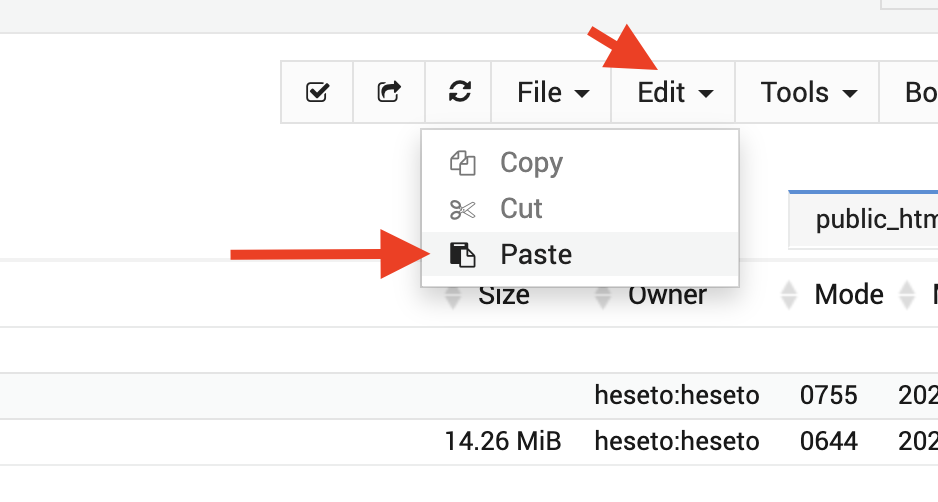
Select the paste option from the Edit menu to move the files to the main folder.
All files are transferred, and you can delete the wp.zip file and the WordPress folder from your host.
Start installing wordpress on Webmin
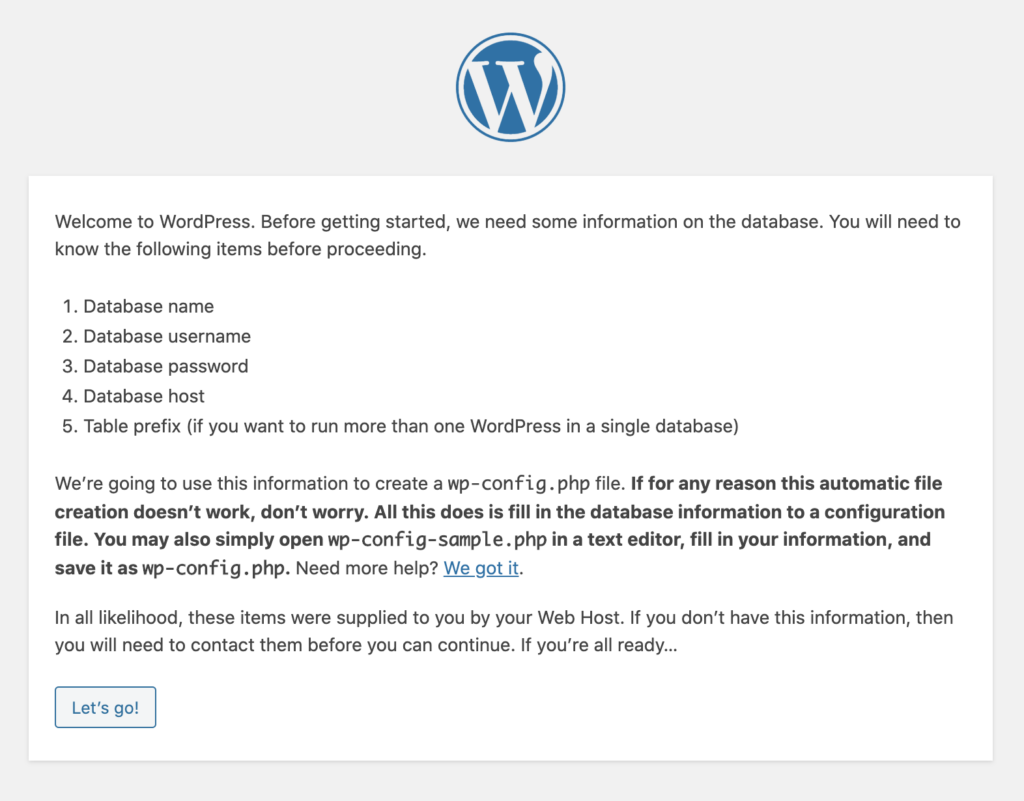
If all goes well, you will be taken to the WordPress installation page by entering your website URL. In this step, we need to install WordPress.
First, select the language you want, if necessary. Then, click on Let’s go.
Complete WordPress installation
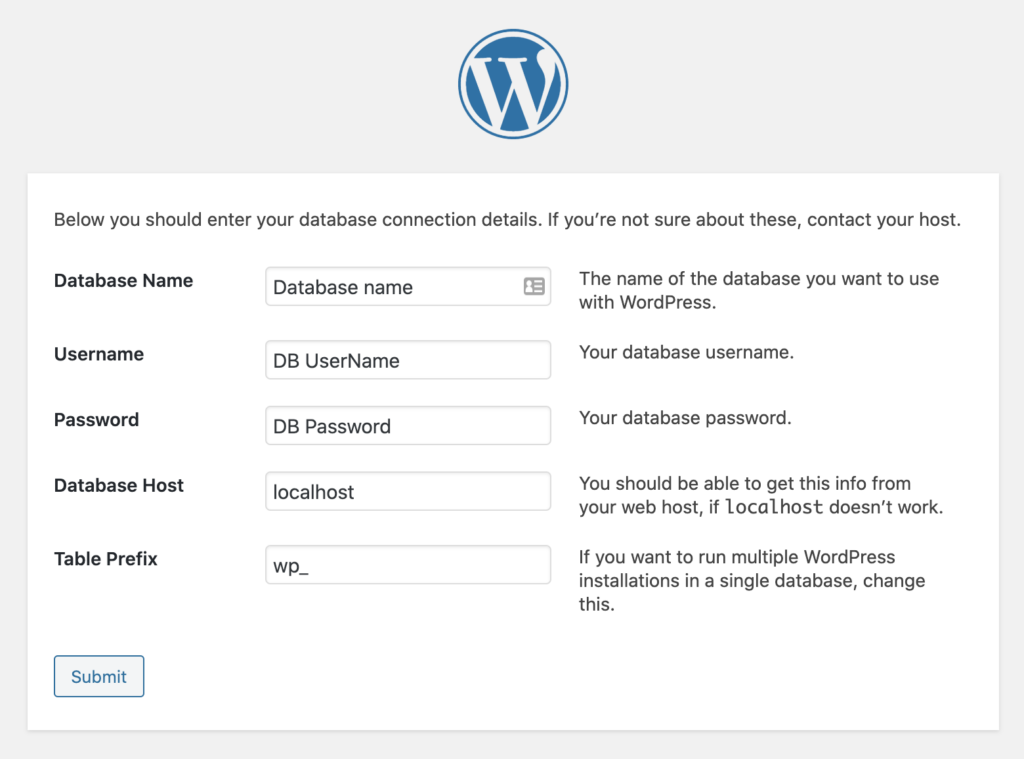
Return to the WordPress installation page. We are asked for database information on this page, and we have to enter the data. In Webmin, the process of building a database is different from other control panels. It would help if you asked the server administrator to create the database for you. But by default, when you build your hosts on the server, a database is made with your username. So we enter the values like this:
- Database name: Your hostname, for example: heseto
- Username: The username of your host. For example: heseto
- Password: Login password for your hosting panel
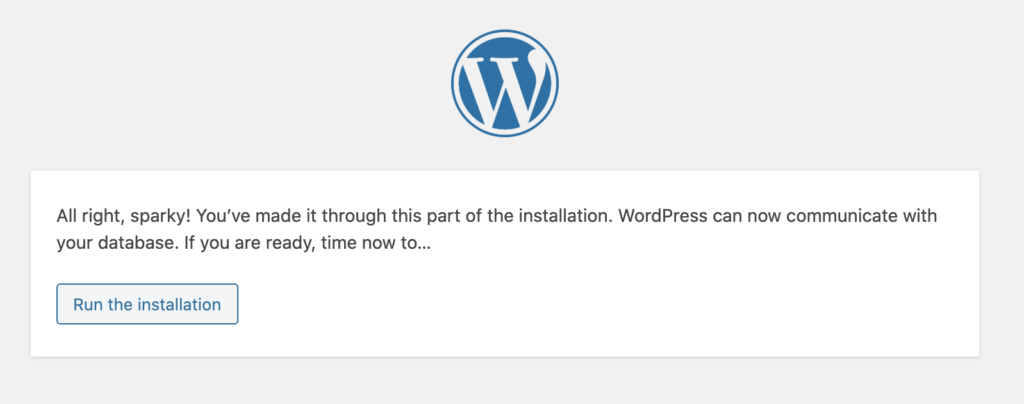
Suppose the above information did not work. It would help if you asked your server administrator to create a database for you through Webmin.
In the last step, you have to click on install.
In this step, we enter the website information and WordPress management information.

The WordPress installation on Webmin and Virtualmin is complete, and you have launched your first Webmin WordPress website. Congratulations and good luck to you. 🙂

To post a comment, please register or log in first.