How to install WordPress on WebSitePanel
- WordPress Tutorials
- Updated on

We have published various articles about installing WordPress on different operating systems and control panels. But we have not provided any training on Windows hosts and installing WordPress on Windows hosts. This article will teach you how to install WordPress on WebSitePanel.
We suggest using WordPress on a Linux host Because they will be automatically synchronized with WordPress. Unlike Windows hosts, you will have many problems setting the access level, security, updating the PHP version, and so on. What if your hosting used the original Windows Server license for your website server!
Note that if your hosting control panel is the website panel, you are using Windows hosting.
No problem. You can use WordPress on Windows hosts. But we suggest using Linux hosting with CPanel or Direct Admin. Sometimes your webmaster is more interested in WebSitePanel, and you have to install WordPress on WebSitePanel.
How to install WordPress on WebSitePanel
Let’s start installing WordPress. Naturally, at the beginning of your career, you bought a Windows host with a WebSitePanel. The address of the control panel host is yourdomain.com:9001. Naturally, you should enter your website address instead of yourdomain.com.
You will see the login page for WebSitePanel. Here it is enough to enter the username and password you received from your hosting company when purchasing the host.
You will then encounter such a page. Welcome to the WebSitePanel control panel. Where to manage your website (albeit with a bit of hassle). 🙂
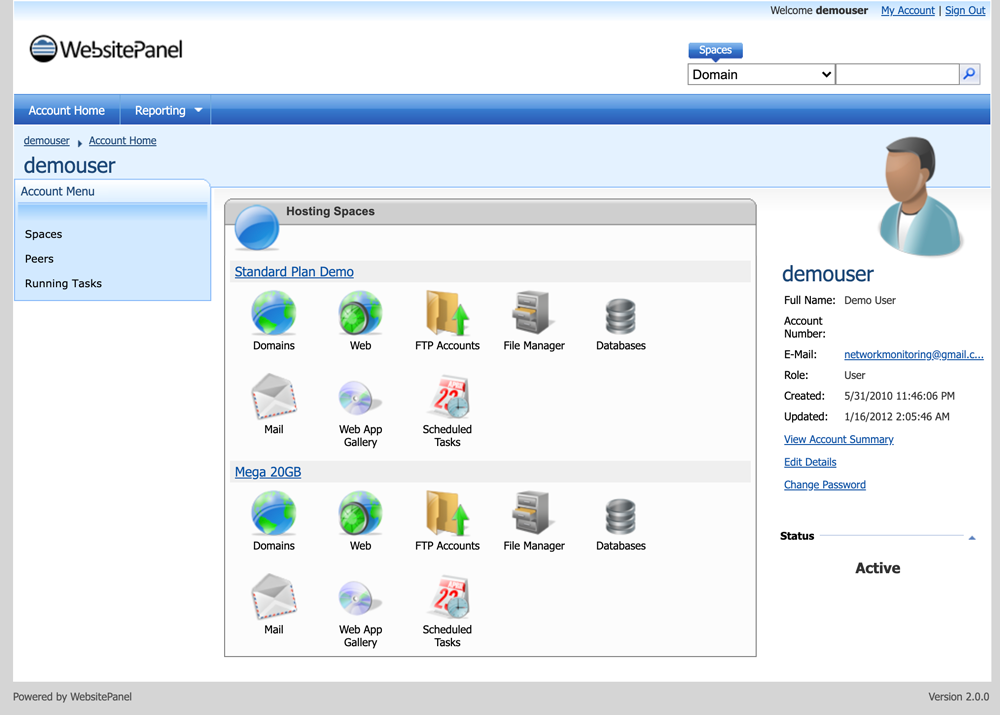
Now is the time to download and install WordPress. You need to download WordPress and upload it to your file manager. So first, download the latest version of Persian WordPress from the WordPress download page.
Then click on File Manager. You will be logged in to manage your website files.
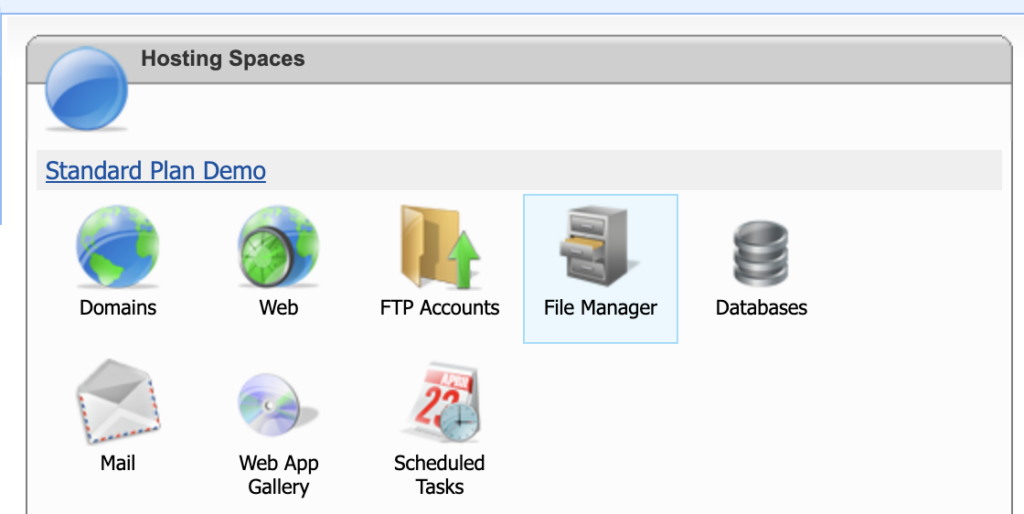
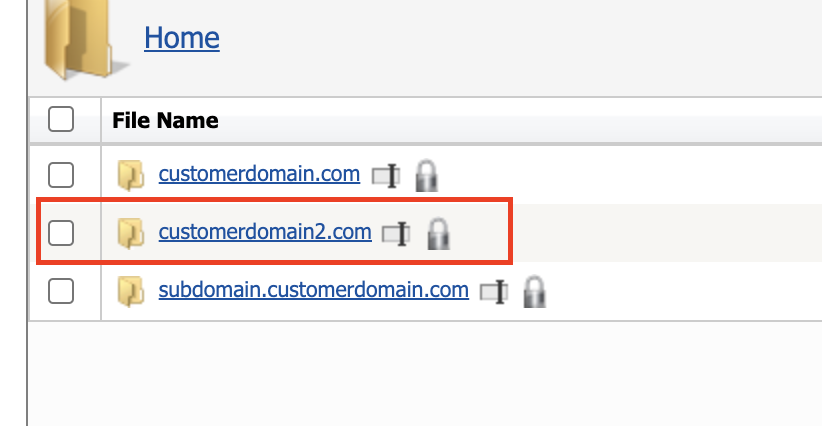
Select the domain you want here to enter the folder of the same domain.
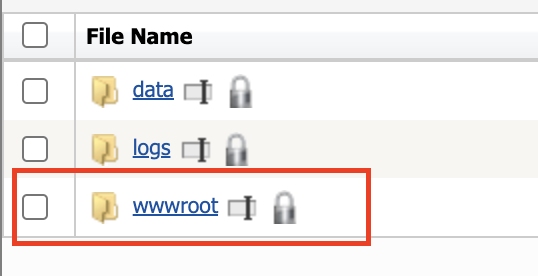
And enter the wwwroot folder. This folder is the leading directory where WordPress should be uploaded.
Select all the files and finally click Delete. This will delete all the files in this directory.
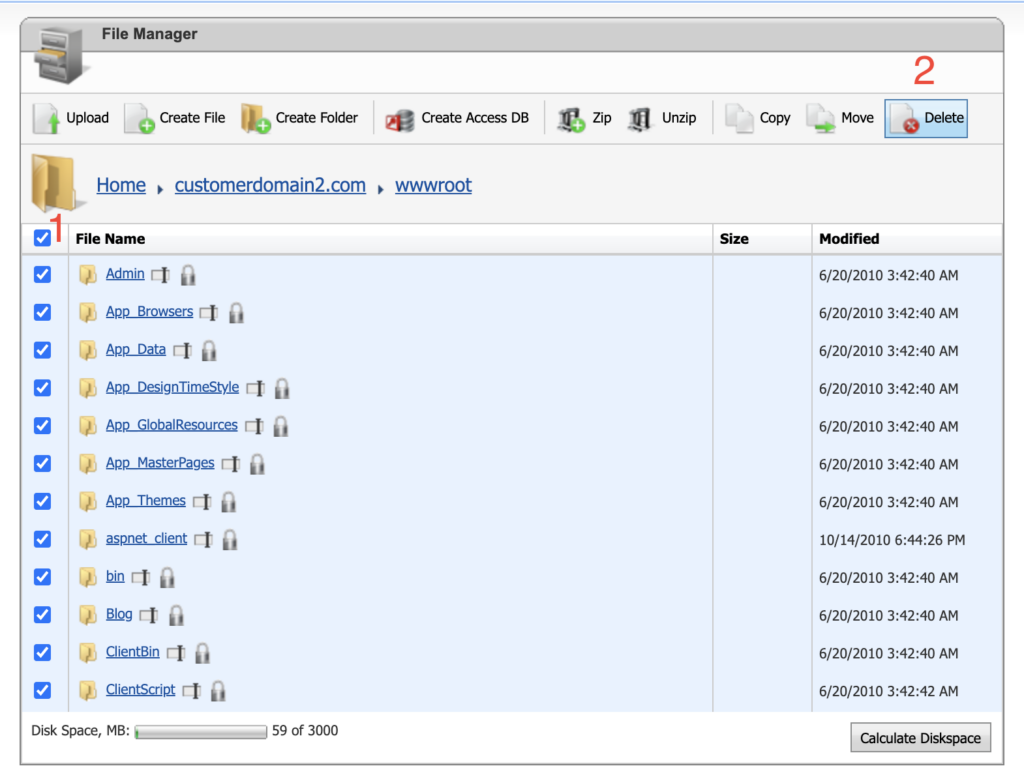
Finally, click on Upload, and we will upload the file we want. Select the downloaded file from the WordPress download page and wait for the file to finish uploading.

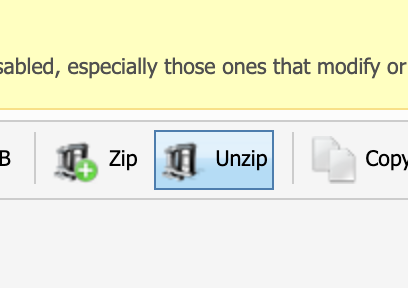
After uploading the WordPress folder, check the box next to WordPress and click the Unzip button. This will unzip the WordPress folder.
Now enter the WordPress folder and move all the files to the previous folder, the wwwroot folder, by clicking on the Move option.
Start installing WordPress on WebSitePanel
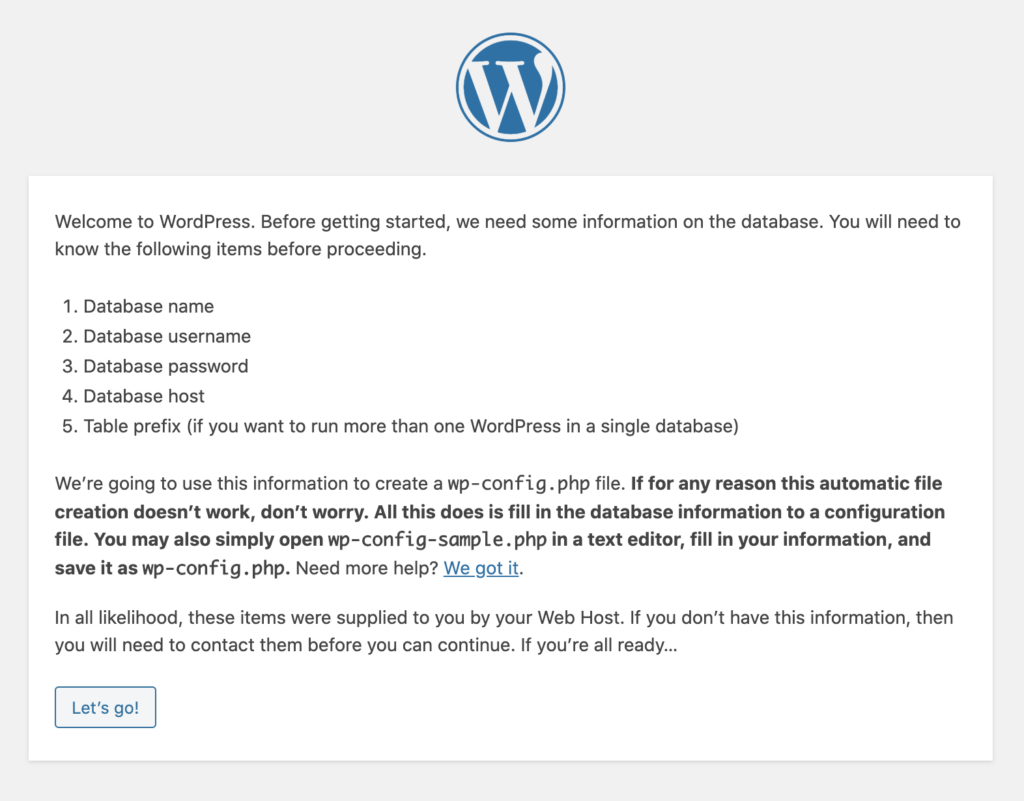
If all goes well, you will be taken to the WordPress installation page by entering your website URL. In this step, we need to install WordPress.
First, select the language you want, if necessary. We are going to install WordPress on an English-language website. So we choose the English language. Then, click on Let’s go.
Create WordPress Database
Now we need to enter the database information. We need to create a database to install WordPress on the website panel. Then, by clicking on Account Home on the WebsitePanel, we will enter the main page of the Panel website. Then click on Databases and finally on Mysql.
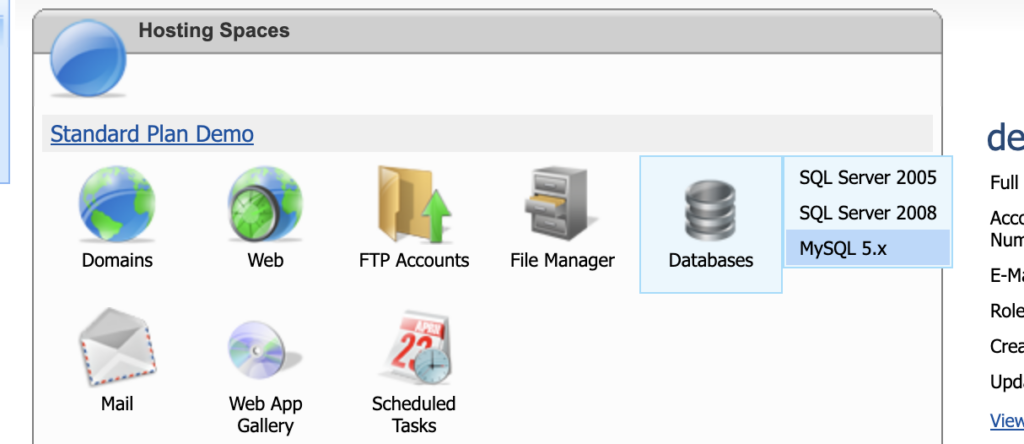
First, select Create Database to start creating a WordPress database.
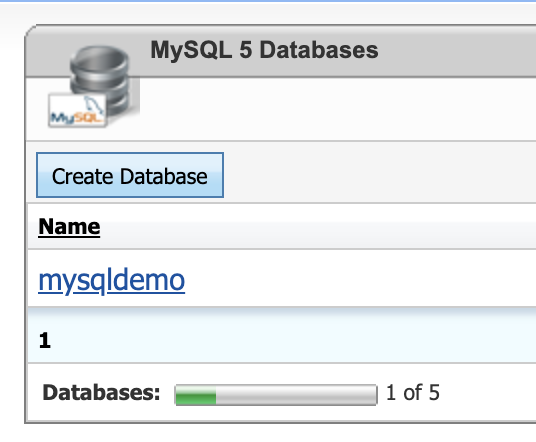
Choose a custom name for the database.
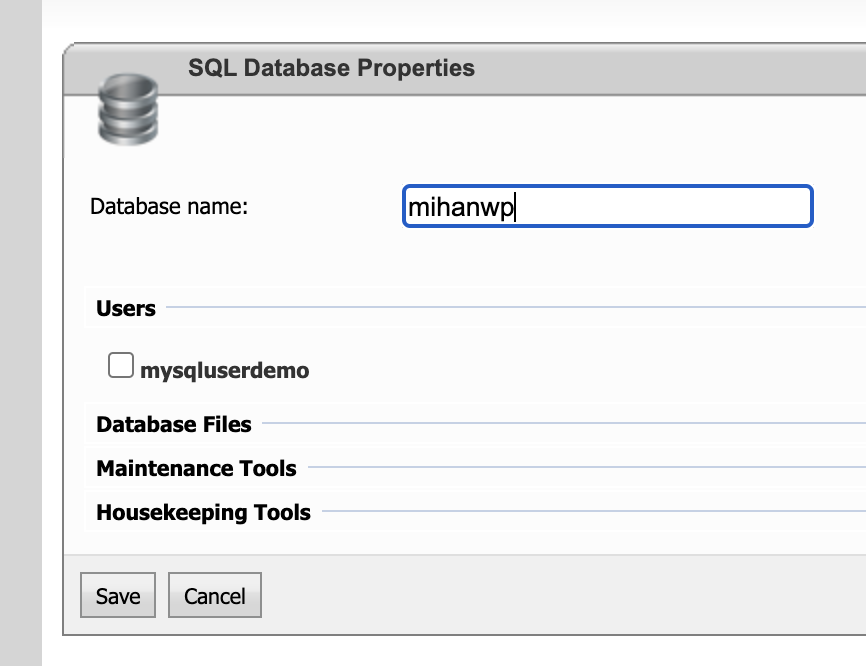
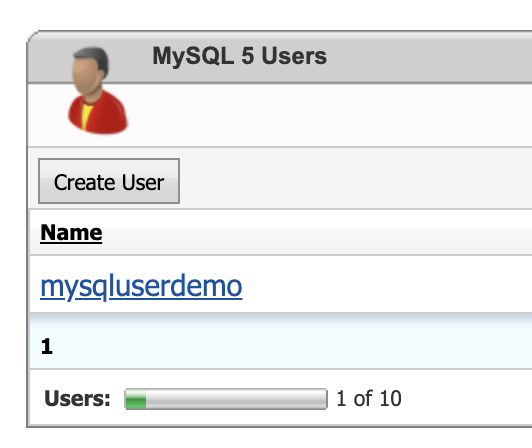
We clicked Save, and the database was created. Now click on Create User to select a new user for the database.
We have to enter our desired database username and password on the opened page. Also, select the created database to set the username for the desired database.
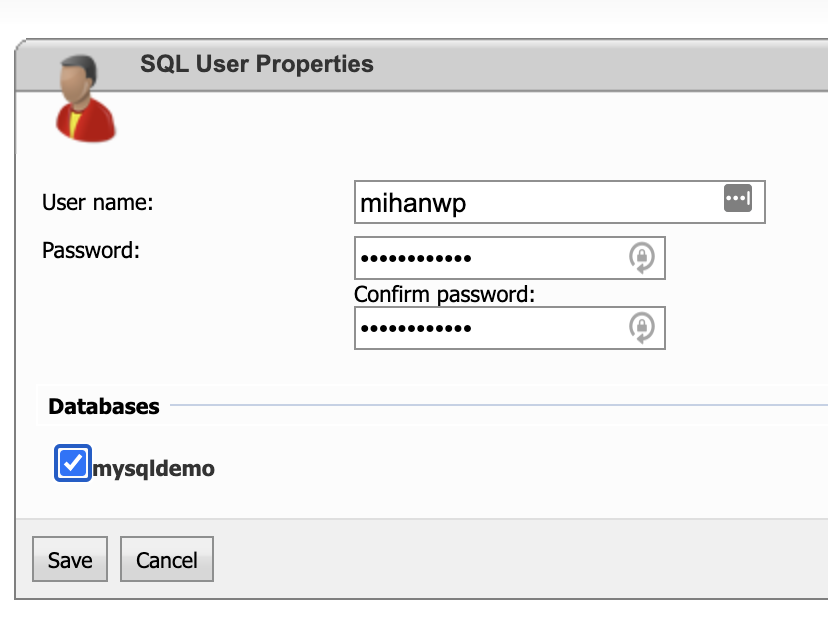
Finally, click Save. The database has been created and is ready to connect to WordPress.
Complete wordpress installation on WebSitePanel
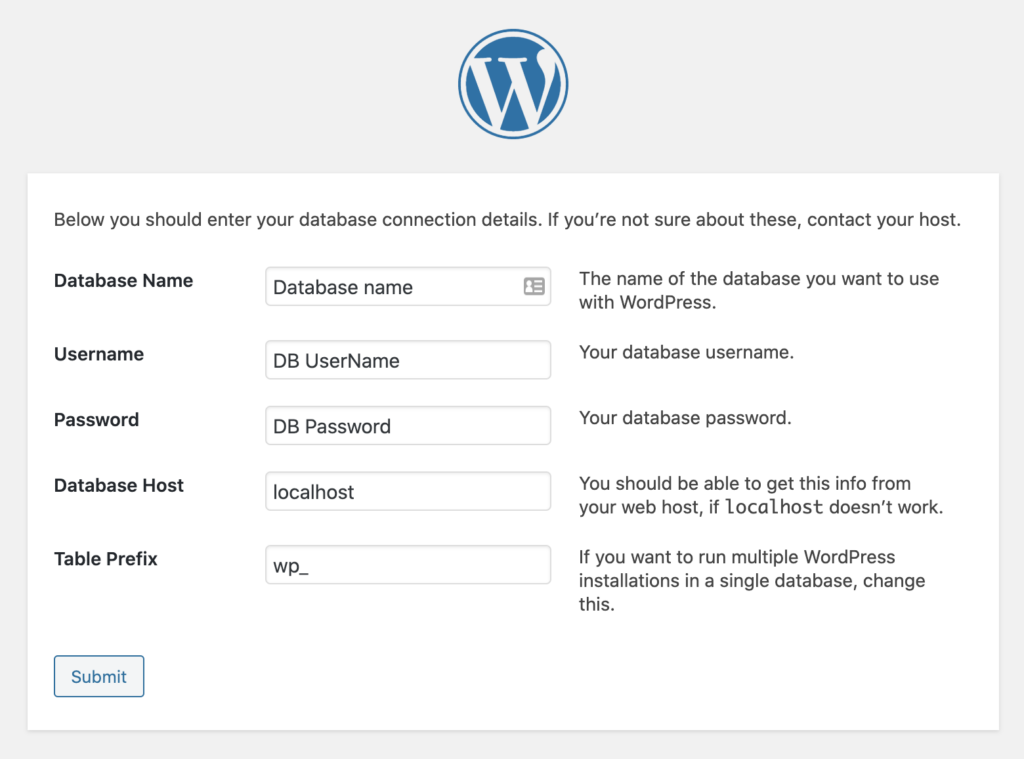
Return to the WordPress installation page. We are asked for database information on this page, and we have to enter the data. So we enter the database name created, the username created, and the username password here. Then click on submit button.
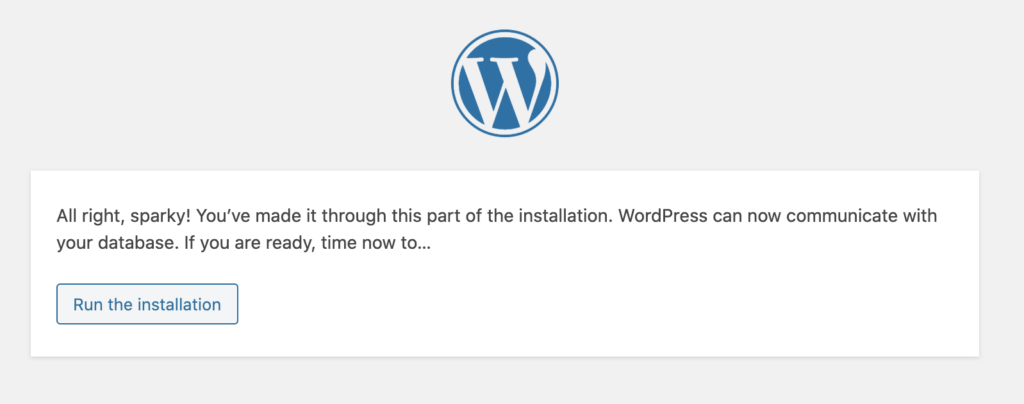
In the last step, you have to click on install.
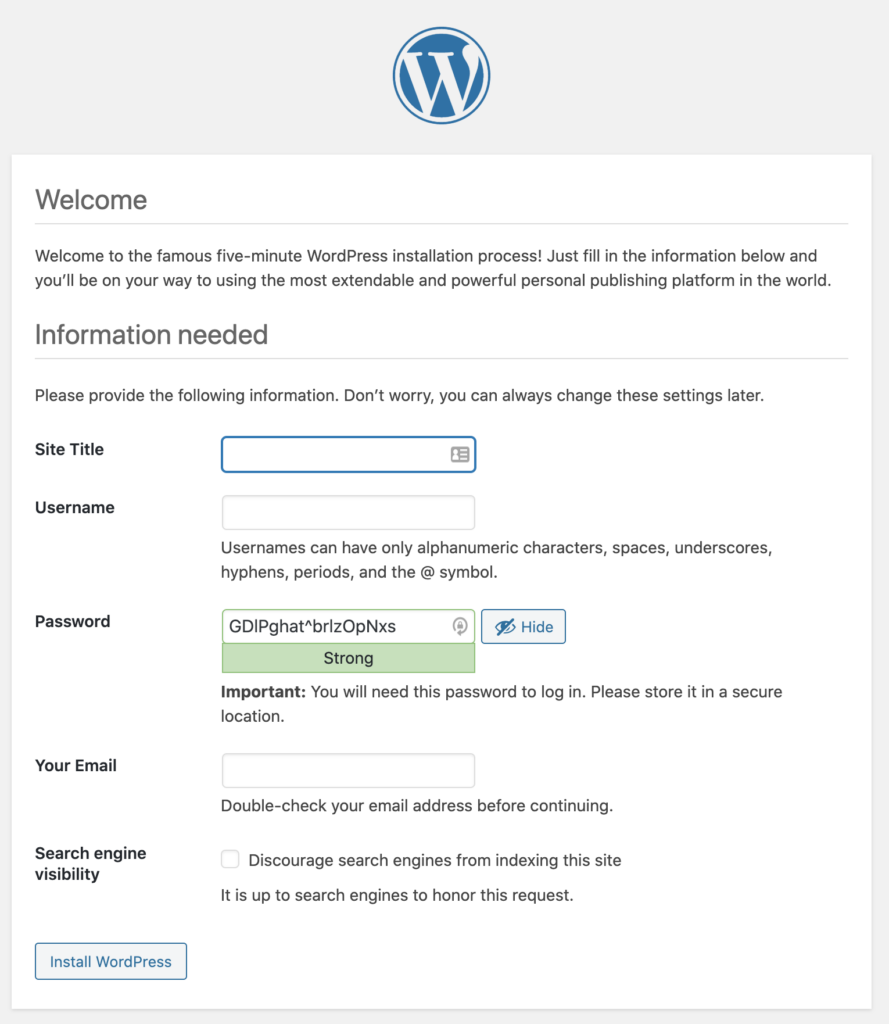
In this step, we enter the website information and WordPress management information.
The WordPress installation on WebSitePanel is complete, and you have launched your first Windows WordPress website. Congratulations and good luck to you. 🙂


To post a comment, please register or log in first.