What is Figma? Figma software and its reputation in web design
- WordPress Tutorials
- Updated on

Despite various programs and increasing software development, the site design has completely changed and is significantly different from what was called site design in the past. Among the changes that have taken place in web design, we can mention two issues of user interface design and user experience design, which are called UI and UX. Attention and sensitivity to UI and UX design are some of the basic things that can make a project successful in e-commerce. UI and UX design software have a wide range and variety, but web designers approve only a limited number. In this article, we will go to one of the top UI and UX design programs, Figma, and explore everything about it. So stay tuned to see what Figma is and why most UI designers use it.
What is Figma
As mentioned in the introduction, Figma is software for UI and UX design. In general, this program is free and cloud-based software that can be installed on Windows and Mac operating systems and run on a browser. Forming multi-purpose design teams is one of the capabilities that cloud space has created in this program.
Forming design teams is one of the main advantages of using the Figma program, saving time and money and making design work attractive and enjoyable. Figma also provides the ability to comment on teammates, allowing you to log in to a team member profile and view their monitor screen.
Version Control feature is another advantage of using the Figma program, by which you can go back to the previous step at any stage of the design and change or modify the relevant item.
Manufacturing components is another benefit of the Figa program. With this feature, you can create and save components by combining them and using them when needed.
Methods of using Figma
To use the Figma program, you can use the software installation method or the web version. To install Figma software, you must go to the Figma site using the filter breaker and perform the next installation steps by downloading the Windows or Mac operating system version. The web version of this program is available through the Figma website and using IP change services.
How to use Figma
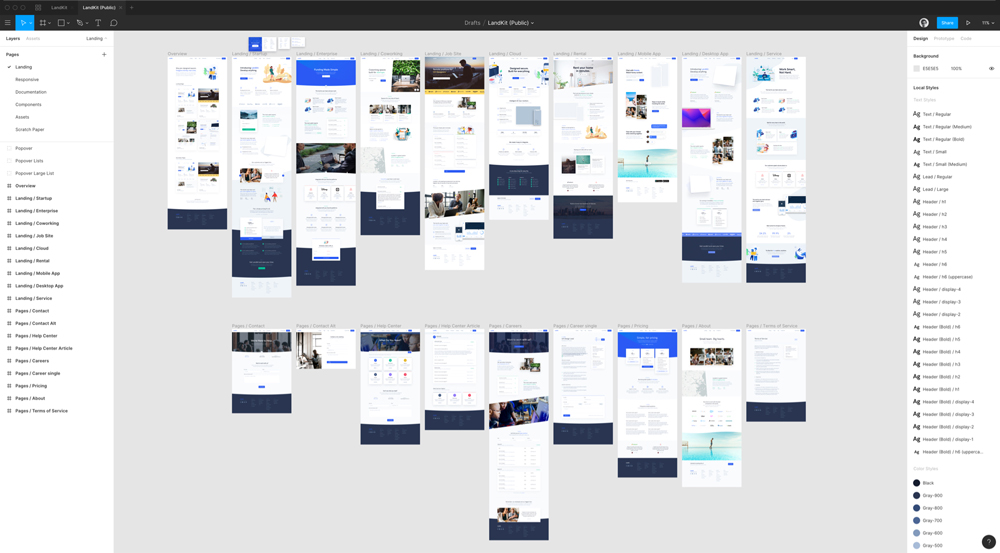
In general, with the initial view of the program, we see the options related to Search, Recent, Plugins, Draft. Using Search, you can search for existing files and active people. The Recent option is for recently created files, and the Plugins option is for add-ons that we have installed. The last option, Draft, shows the active projects we are currently working on.
To form a team, use the option in the lower right corner. It should be noted that forming a team with a colleague in Figma is free, but if the number of colleagues increases, the relevant fee must be paid.
We need to click on the plus icon inside the Draft or the plus icon in the upper right corner and top left corner to start the project. The project started does not have a specific name at first; it must be registered.
Introduction to Figma sections and tools
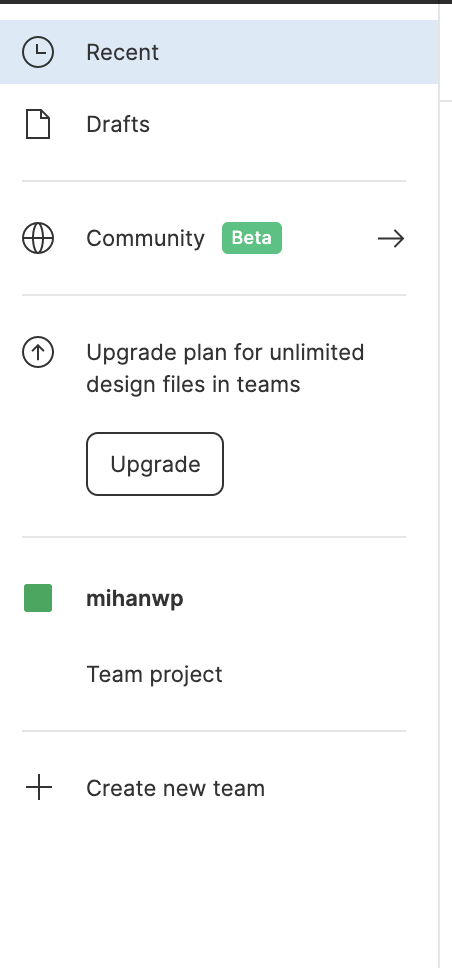
At first, the page we see consists of several sections. At the top is the toolbar and includes options for menu, Tools, Frame, Pen and Pencil, and text. In the upper right corner, you will see your profile picture, and if there is a team, you can also see the profile of your colleagues. The Share option is located next to the profile picture, and by clicking on it, it is possible to share the project, and next to Share, there is an icon related to displaying the projects that we have created. The right column is for the settings and properties of the shapes we draw, and the left column is for the frames and layers.
To get started designing the projects we have created, we must first create an artboard or frame. Using the frame-related option in the toolbar above, you can create an artboard or frame with the size of a mobile screen, tablet, etc., and after confirming the type of frame, you must do the corresponding registration work.
Tools in the top menu
Using the tools, you can create shapes inside the frames. The tools in this section include quadrilateral, line, arrow, circle, polygon, and star and image, respectively. The settings and changes related to the features of these tools are located in the right column, and the settings can be used to change the position, size, sharpness in the corners, and some other features. Here it should be said that the numbers in the settings of the right column are consistent with the mathematical symbols and can be changed using the first four mathematical operations.
Some of the features that can be changed in the design column include rounding the corners into a quadrilateral using the corner radius, cutting part of the circle with the arc, creating a stroke, changing the amount of transparency, and changing the angle.
It should be noted that when drawing shapes inside the frame, holding down the Shift key can draw shapes with the same sides, and this is also true when rotating and changing the angle.
Application of layers in Figma program
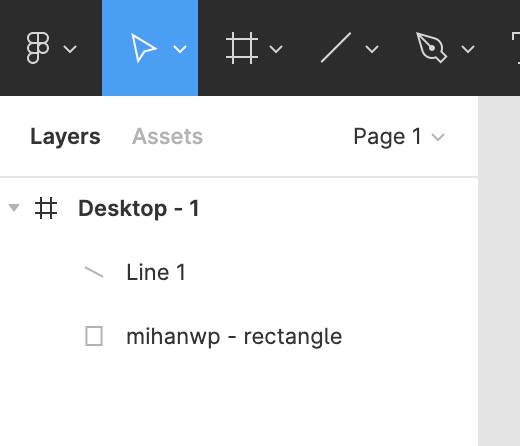
We said that the layer column is on the left side of the program. In this section, we first see the frame’s name, and below the frame, I see the layers in order of the latest layer above. Selecting a layer from this section will activate the corresponding shape inside the frame. The order of the layers can be changed by clicking and dragging its shortcut keys. Using the Shift key allows you to select multiple layers simultaneously.
Perform boolean operation inside Figma
Shapes drawn inside the frames and are in contact or have a common point can be changed using the Boolean option at the top of the frame. The Boolean menu options include Union Selection, Subtract, Intersect, and Exclude, respectively. Using Boolean actions provides us with a way to create and draw creative shapes.
Pen, Pencil and Blend tools in the top menu
The use of the Pen tool is obvious to anyone who has worked with graphic software. With this tool, knots and lines can be created, and if our line is clicked and dragged, it becomes a curve. If the starting point is connected to the end, a geometric shape or curve is drawn, and the necessary changes can be made from the design menu on the right.
Pencil is another tool that provides the ability to draw shapes with many nodes and soft mode in case of clicking and dragging and using the Blend tool; the work related to changing the knob handles is done.
Application of text tools in Figma design program
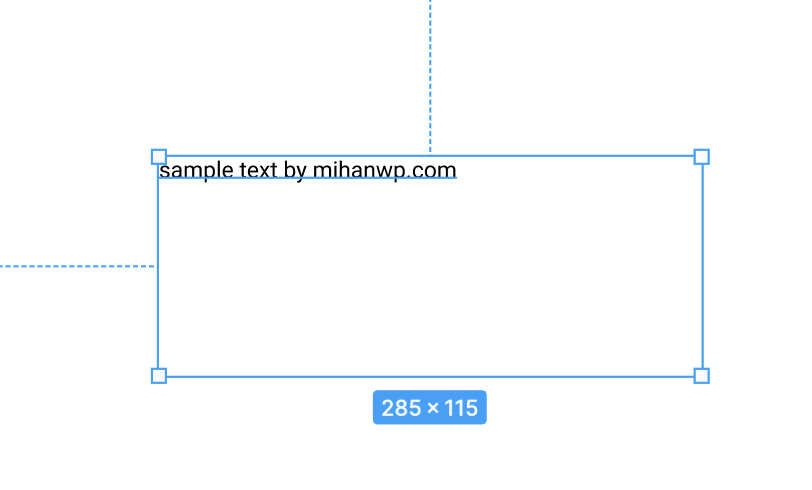
In general, the use of the Text tool is known to all of us, and it can be used to write text. By selecting the text tool and clicking inside the frame, a set of properties and attributes will be displayed in the right column, among which we can mention the font type, font size, line spacing, and so on.
Naturally, you will need this section to design menus and different sections of your site or mobile application. Of course, it is not possible to use Persian texts in the web version of this software.
Conclusion
In this article, we tried to briefly introduce the Figma user interface design program and explain the different parts and how to work with this program as much as possible. It should be noted that Figma software is one of the best programs in user interface design, and with its set of features, in recent times, many designers have migrated from other programs such as Adobe XD to Figma.


To post a comment, please register or log in first.