


How to install WordPress on Webmin / Virtualmin step by step
- Tutorials
- Updated on
Table of Contents
Introduction
Hey everybody, this is Rad and in this video I’m going to teach you to how to install WordPress on your webmin or virtual min server. If you have your own dedicated web server and you want to host your own website on your dedicated server, for example, on this dedicated server, I have installed webmin and then virtual miner.
I’m using this control panel for all of my websites because number one it’s free, number two it’s opensource and it’s secure. It’s using Nginx as a web server. So it’s good to host your own website on your dedicated server. It’s not good for shared web hostings. It’s not it’s not u good for somebody who don’t have any information about how to manage a web server but if you have managed web servers if you know how to config your Ubuntu operation system if you know how to manage a web hosting server It’s good for you.
About Webmin and Virtualmin
So, we are going now to install WordPress on this website. We have two methods to install WordPress on virtual min. When I’m saying virtual min, it’s a control panel which is installing on webmin. At the first step, we have to install webmin to manage our server and then we are installing virtual min to have a web site control panel something like that.
However, we have installed webmin and virtualmin on our server and now we’re going to install WordPress on our virtualmin server.

Method One: Installing WordPress via Manage Web Apps
method number one is installing from manage web apps section in virtual webmin. First you have to add your own domain on virtual main and then you can go to the manage web apps section from here and then you have to select WordPress and then you have to select your own WordPress version which is the version you want.
I’m always choosing the latest version of WordPress here.

WordPress Installation Options
And then we gonna show we’re going to go to show install options section. It’s showing us some options about WordPress installation. For example, which database I need to install WordPress on it. Then we have to set a prefix for our database.

I’m choosing for example for this website go It’s better to change it for your website security and then where you want to install WordPress at top level for example on my own my on on my main website or on a directory for example if I select here and type rad here um my website address my WordPress website address will be goaresh.net/rad and if I choose at top level my WordPress will be installed at the top level of my website goaresh.net.
Setting Website Details
Now I have to enter my website name here and then we can choose a username and password for our website which you can you can select and copy this preferred password which is secure or you can install your own password here. For example, I’m typing rad rad rad for my password which is not secure.
And then select on install now. Oh, it’s not the requested format. Rad 1 2 3 4 5 6 install now. Oh, it’s need special character for example something like that. Or we can paste the copied password which is secure and select on install now button.
Completing Installation
It’s going to install WordPress on my website. Configuring my PHP web server and u choosing the latest PHP version from my virtualmin and then installing WordPress 6.9 which is the latest WordPress version on my website.
Now I’m going to go to my website which is a WordPress website. I can go to my website and I can see the default WordPress theme here and then I can type my username and the copied password here and login to my WordPress website.

This is method number one, installing WordPress from the web apps section in virtualmin.
Method Two: Manual Installation from WordPress.org
And if you don’t have access to manage web apps section on your virtual main and you want to install your own WordPress website from WordPress.org and you want to download and install it manually, you can go to file manager section.
Cleaning the Public HTML Directory
Then you have to select all the files here and delete all of the files. I’m going to go to delete all of my files here. Be sure that you don’t have any important files here. You don’t have any data on your website. Be sure about it.
And then select and delete all of these files. I’m refreshing the page. And there is no files in my public html directory which is my main directory of my website.

Downloading and Uploading WordPress
Now I’m going to WordPress.org website and in the get WordPress section or WordPress.org/d download I can download WordPress 6.9 the latest version of WordPress. It’s downloading very very slowly. I don’t know why. Let me download it again. Yeah, this time is download. It’s downloading fast.
And now I’m going to the file upload to current directory. And now I’m dragging and dropping the WordPress downloaded file here and click on upload. And it’s uploading on my web server.
So I’ve uploaded WordPress zip file. First I’m downloading it from WordPress.org or and then I’m uploading it to my public underline html.
Extracting and Organizing Files
Now I have to right click on the file and click on extract. It’s unzipping my file in public html.
Now there is a directory here. I have to go into this directory and choose all the files here. And from edit section I have to copy all of this file. Now I’m going back to public HTML section and then in the edit menu I’m selecting the paste option.

It’s copying all of the files from WordPress directory to the my to my public html directory. Now I’m going to select WordPress directory and WordPress zip file and deleting this file because I have OCD and I have to be clean everywhere every time anywhere.
So I have WordPress files here.
Database Setup
Now I have to go to databases section. So, I’m going to edit databases and then I am I don’t I don’t want to do anything with my current databases because maybe I have some information on this databases.
I’m going going to create a new database here. So, I’m selecting create a new database and I’m choosing my own database name for example go and create. It’s done.

Running the WordPress Installer
Now I have to go to my website. My website name is first of all I have to in select my my my language. For example, I’m selecting English. You can select Arabia. You can select Persian. Which language you want? You have to select italiano.

And after that I have to select continue. I’m going to the let’s go section. It needs my database information.
Entering Database Credentials
My database name is GoWP which I have which is the name that I have selected on the previous section. Now I’m going to edit databases section. Again in the user names section I have my username. My username is gozaresh. So I have to paste my username here.
And then in the passwords section I have to copy this password and paste it here.
And on the table prefix you can enter um two to two to a special character that you want. It’s optional. You can change it or you you cannot you can you can make it to be WP. But for better security of your website, it’s better to change this prefix to your own prefix. For example, I’m changing it to go.
Submit. You can save your database password. I don’t need my database password, so I’m I’m not saving it. Run the installation.

Finalizing WordPress Installation
And then we are going to the installation page of our WordPress website. I can select a name for my website. I can select a username. I can select or copy this password for my website. And then I have to enter my email. For example, noreply@ertano.com.
It’s better to enter your own email address because if you if you forget your WordPress username or your password, you can recover it by your email. if your website can send any emails. Sometimes your WordPress cannot send any emails and you have to check your web server.
That’s why I told you if you don’t have any information and any knowledge about how to manage your own web server, it’s better to use your use use another hosting shared hosting you can use it.
Then select install WordPress and WordPress is installed on my website.

Logging In and Next Steps
Now I’m going to login page of my website and then I can enter my username and my chosen password and then click on login and I can save or update this password on my browser.
Then WordPress is installed on my website and I can go to the next steps of manage my own website and make a beautiful website.
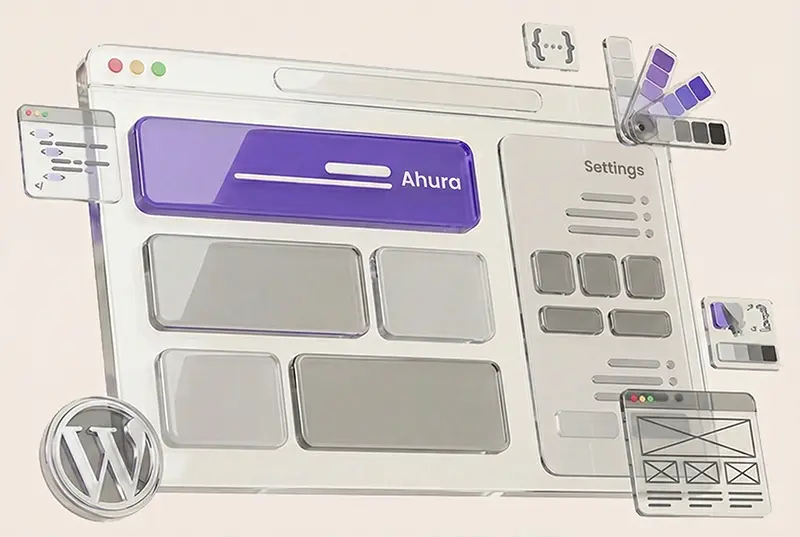
Recommended Theme
For make a beautiful website, you need a good temp. And the best theme ever for WordPress is Ahura. You can go to the ertano.com/ahura and select Ahura as your preferred theme for your website and make your good website with Aurora.
Ahura WordPress Theme
The Power to Change EverythingElementor Page Builder
The most powerful WordPress page builder with 100+ exclusive custom elements.
Incredible Performance
With Ahura’s smart modular loading technology, files load only when they are truly needed.
SEO Optimized for Google
Every line of code is carefully aligned with Google’s algorithms and best practices.
To post a comment, please register or log in first.